Let Baby’s Feet Be Free: The Why and How Behind My Footless Sleepers
- Carmen Fourie
- Jun 14
- 7 min read


When little M was born, I felt this major resistance to putting his feet into any "footed" clothing (sleepers or onesies or pants where the foot is attached). Unfortunately (or now - fortunately - because it led to this awesome DIY) I had very few sleepers without feet.
Ian said "why don't you just cut off the feet". Rule abiding me immediately responded that I can't do that! But then I chatted to a friend who casually said "I just cut them off"... and I became a little braver to alter existing clothing...
Because just look at those precious little toes - they need to be free!
P.S. I didn't just cut them off - I made them look pretty cool. I'll get to that in a moment.

Why free the feet?
When we think about babies and comfort, footed sleepers feel like the obvious choice. They keep little toes warm, they’re convenient, and they’re everywhere. But as a barefoot (and barefoot shoe) family I questioned... if we don't want to restrict our feet - why am I covering my baby's feet when his feet are still developing?

Babies are born with soft, highly adaptable feet. The bones are still forming, the arches haven’t developed yet, and the muscles and ligaments are learning how to work together. One of the main ways this development happens is through movement and sensory input. When a baby can freely stretch, curl, grip, and press their feet against surfaces, they are actively building strength, coordination, and awareness of their body.
Footed clothing can get in the way of this process more than we realize. Even when it’s not tight, the fabric creates a barrier between the foot and the environment. It dulls the sensory feedback babies get from the floor, from your body, or from whatever they’re kicking against. That feedback is important—it helps their brain map where their body is in space and how to use it.

There’s also the issue of subtle restriction. Many footed sleepers don’t perfectly match a baby’s foot size. If they’re slightly small, they can compress the toes or limit the ability to fully stretch the foot. If they’re slightly big, the extra fabric can bunch and interfere with natural movement or cause babies to grip unnecessarily. Over time, even small limitations can affect how freely a baby uses their feet.
Free feet, on the other hand, allow for natural development. Babies can push through their legs, explore different positions, and eventually prepare for standing and walking with stronger, more responsive muscles. It’s the same reason many experts recommend barefoot time when babies start pulling up and cruising—the foot is designed to move and feel.

Of course, warmth matters too, especially in colder climates. But instead of permanently covering the feet, I’ve found that using footless sleepers with optional socks or booties gives the best of both worlds. My baby can have free, active feet when it matters, and I can still keep him warm when needed.
For me, this small change—simply removing the feet from sleepers and adding cuffs—felt like an easy way to support something bigger: trusting my baby’s body to develop the way it’s meant to, with as few unnecessary restrictions as possible.
I've transformed so many sleepers for Marshall that I've lost count, but it is a lot. From newborn size to size 9 month clothing (he is currently 4.5 months old at the time of writing this but wearing size 6 / 9 month clothing).
You can do it too! With super basic sewing skills.
How I transform the footed sleepers (and pants) into footless with a nice looking cuff
I couldn't find organic cotton bras I wanted - so I made some. Most of them I've made from ribbed organic cotton. I used the off cuts from these bra's as my fabric for the cuffs.

What fabric to use?
I like ribbed fabric for cuffs - it is pretty standard to use ribbed fabric for cuffs and necklines. It has a nice stretch, looks neat, is easy to sew, generally easy to source and I some ribbed organic cotton on hand.
You can use any fabric really as long as it has at least a 2-way stretch.

The cuff should be able to stretch side ways so that you can easily put it on your baby and then it will return to it's original shape that fits, but is not tight.
What tools do you need?
My love of sewing has boomed the last few months so I went from one 2nd hand sewing machine to 4 (and then down to 3). You do not need the others, but wow I am loving being able to make whatever I want for our family - if healthy clothing is your thing I definitely recommend sewing be your next hobby.
But you don't need to like sewing or have much experience to do this DIY. You need one basic sewing machine that can do a zigzag stitch.

That being said - I did not use my normal sewing machine. I used my serger / overlocker. I have an entry level one I got on Amazon (I waited for Prime Day sale).

Although my serger / overlocker is deemed "entry level" - it has been so great for me. I have used it so many times. I've used it more often than my normal machine. I share this only to say - if sewing is a hobby or something you want to do more of - this was a purchase that I've felt I really have gotten (and continue to) get my money's worth from.
My other two machines (normal one and heavy duty) were 2nd hand purchases. My overlocker was the only one I bought new.
Okay I got side tracked there - you just need to do a basic zigzag stitch or if you have an overlocker / serger then use that instead. The cuff needs to stretch - therefore you need a stitch that allows the fabric to stretch - like a zigzag stitch. Do not use a straight stitch. It prevents fabric from stretching.
And of course you need scissors. Normal ones are fine. Fabric ones are great.
It works on MOST sleepers - but will not work on ALL sleepers
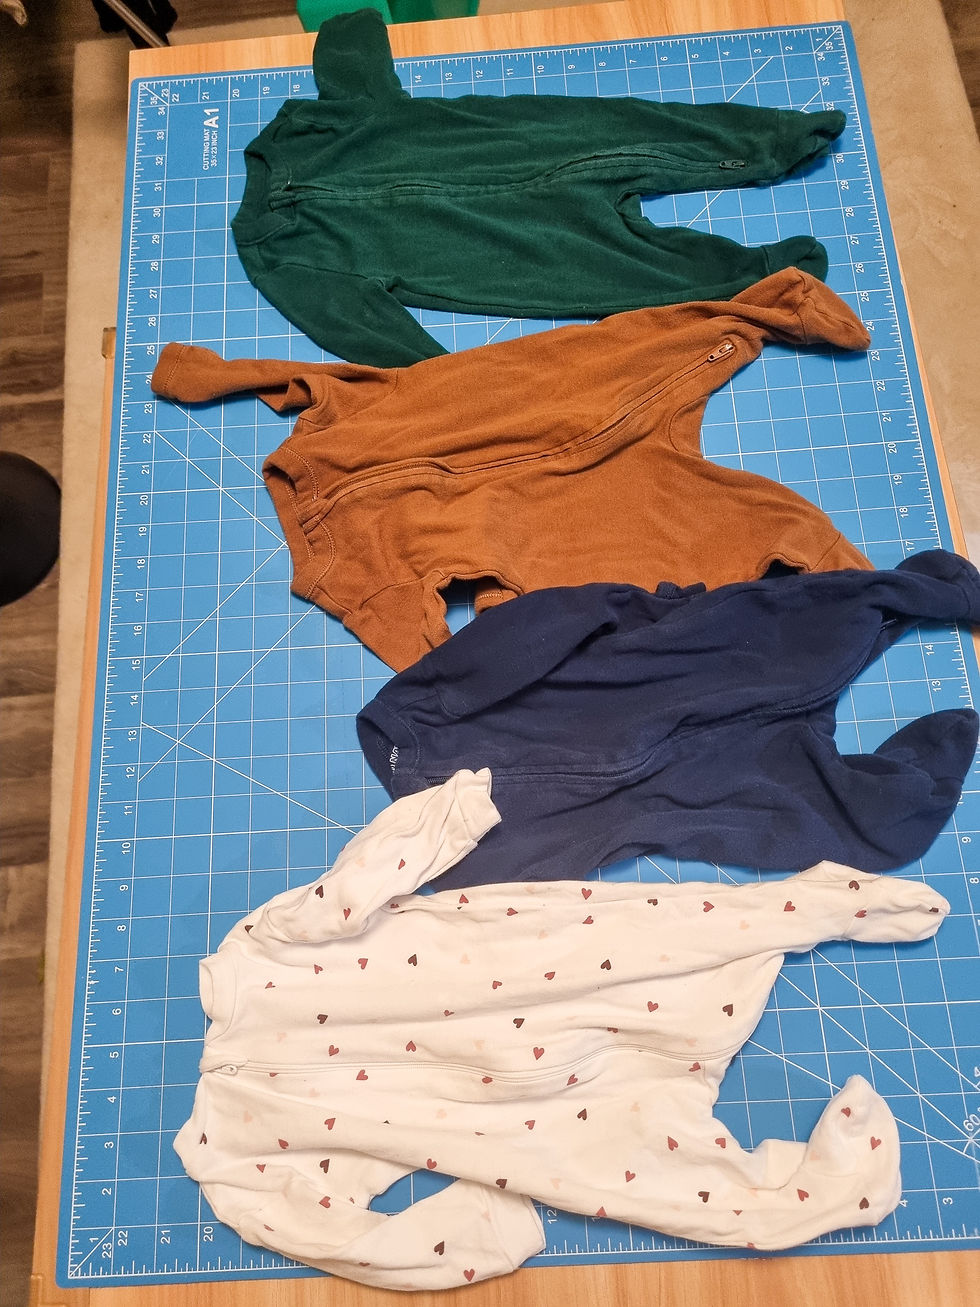
This worked on almost ALL the sleepers we had, except the ones where the zipper goes too low (I think a few of the Carters ones had a zipper that was too low).

If the zipper goes lower than the zipper in the picture above - this technique is unlikely to work, because you need enough fabric to attach the cuff to.
I prioritize organic cotton (or other healthy fibers) for our family - therefore I mostly did this on the Pekkle Organic Cotton Sleepers and some Old Navy ones I was gifted.
How to do it
Step one - cut the feet off. Cut below the zipper, but with enough fabric to be able to attach a cuff and not need to sew over any parts of the zipper (you will break your needle).

Prep your cuff
Do what you like here - I experimented a bit with different widths and height to see what I liked. And in the end my preference was to make them long enough to fold.

I figured I would extend the use of the sleeper if the legs can become longer or be shorter (so if you fold them and then unfold as baby grows taller). Babies grow out of things so fast! Plus we use cloth diapers which means often clothing doesn't fit that is made for small bums. Extending the life of clothing even by several weeks means less waste (of money and clothing).
If, like me, you are (or you're becoming) excited about sewing - I also made my son's cloth diapers - you can find the pattern here.

I don't have the measurements for the cuffs because each time I just made them without measuring. But in the example below you can see they are about 7inches tall/long and 7 inches wide (folded in half-length wise).


Depending on the size you're making you will make these smaller or bigger. For the width - The cuff needs to be slightly smaller than the leg hole. The length is however long you want it, but consider that what you see in the image above - those are still going to be folded.
Sew the long sides to make the cuffs a loop.
I used my overlocker / serger - you can use a zigzag stitch.
If your fabric has a right side and a wrong side - do this on the wrong side (so place right sides together and sew on the wrong side).

Now fold them over on themselves so that the long sides you sewed are closed inside.

Now place this onto the sleeper by the leg hole.

Line up the seams for a neater look (I didn't necessarily do this). Face the open side of the cuffs down (lined up with the bottom of the leg hole).
And sew around. Because the cuff is smaller than the leg hole you can pin / clip around at each 1/4 to spread it out evenly and then pull the cuff a little as you sew.

Make sure you sew through all the layers - the sleeper, and both layers of the cuffs. Now flip them down and you are done!

It is so fast to do once you have the hang of this! I managed to do so many of these with a newborn and a toddler.

I have since done this to pants as well - to avoid buying new and because I had nice organic cottons I wanted to use, but didn't want them to be footed.

Oh and another reason I don't like footed clothing is because I babywear a lot and it is preferable to not use footed clothing when baby wearing to avoid restricting circulation or having the carrier pull tight around the toes. Some people aren't bothered by this much, but I don't like there being any concern about the carrier pulling the sleeper fabric tight around the toes and restricting them.

I hope you found value in this!
I have lots of information about baby wearing, back carrying, healthy living, attachment parenting, elimination communication, cloth diapering, barefoot shoes, etc - sign up to receive my emails down below.
You can also check out my Youtube Channel.
Thanks for being here.
Disclaimer: Some links in this post are affiliate links. If you choose to purchase through them, I may receive a small commission—always at no additional cost to you. Your support helps me continue to create.


Comments