


Make your own bike shorts - it is definitely worth it!

I couldnt find healthy bike shorts (pretty much the start of most of my sewing projects) so I found a way to make them and I am happy to share... it is easier than it seems! And the shorts are actually amazing (I was worried).
Today I am sharing with you how I made my own bike shorts and how you can too!
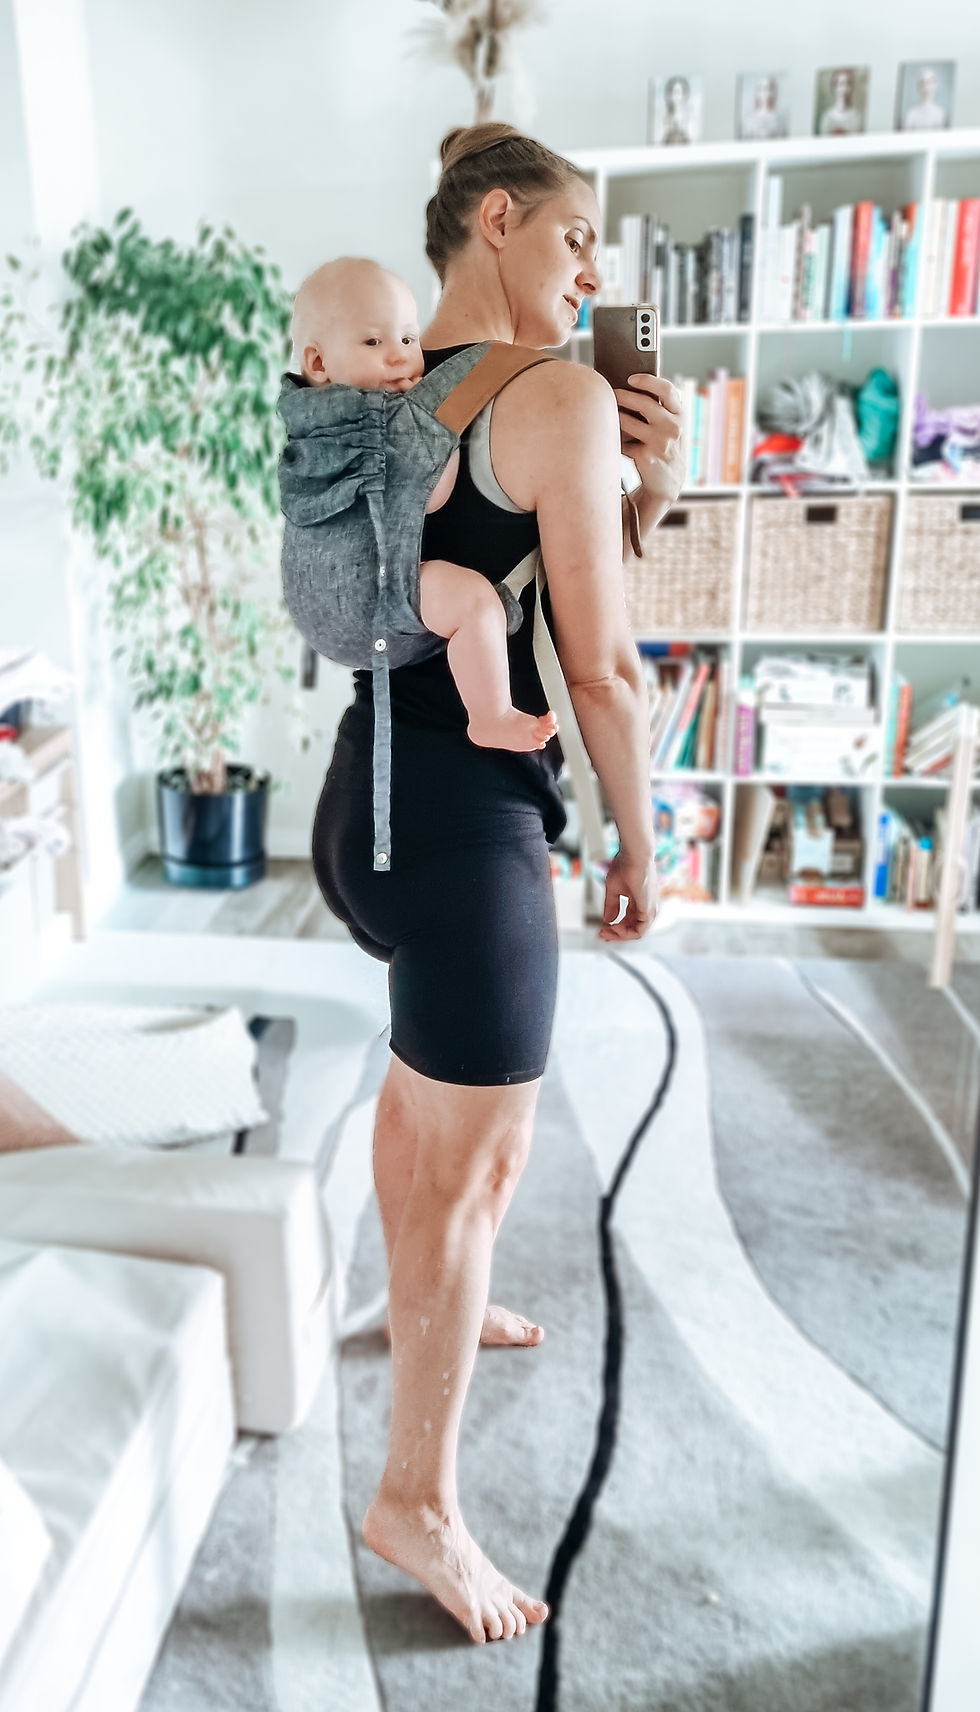
Why I made my own bike shorts?
Simple answer.... because everything on the market is made of unhealthy synthetic fibers or it is made of "natural" fibers, but so processed that it no longer resembles something healthy (looking at you viscose bamboo).
I like wearing uniform style practical clothing - so basically black bike shorts in summer and long leggings in winter (I will make my own leggings in winter as well). Being able to make my own bike shorts and leggings means I can pick my own fabric! I can also alter the fit slightly to suit what I like, but most importantly - the fabric thing.
Picking the fabric
Of course - you do you, but my main motivation for sewing is to make the things our family likes that I can't find and that usually means healthy versions of what I would like to wear. I usually only sew with organic cotton (sometimes with a small % of elastane) or wool or linen.
For this project I bought cotton. Not organic cotton. Just normal cotton. Which I don't like doing - unless it is certified that it is safe - look for OEKO-TEX Standard 100. But even then, that is me settling. I prefer to stick to organic cotton, wool (not super washed) and linen. But for this project, I was hesitant that I could actually make bike shorts that I like. So, I got some normal cotton to use in case I don't get it right. And I did this knowing that if I do get it right ... I will make many more of these (I have made two pairs so far and would love to make more as soon as I make a little more time to do so).
Important for this project - You need fabric that stretches 4 ways. Which is why you'll probably not be able to use 100% cotton. I would say go for the highest percentage cotton (ideally organic) with some stretch.
What do you need to do this?
Basic sewing skills - Be able to cut a pattern out and stick it together, be able to neatly cut fabric, be able to sew straight and be patient with yourself if you are a beginner - this is definitely beginner friendly.
Pattern and instructions - I will get back to this. But note it is a paid pattern (not one I created) and the instructions (a video) is free.

Sewing machine/s
For this project I used all 3 my machines. You do not need all 3. You can do it on a normal sewing machine (the whole thing). That being said I do highly recommend getting a basic overlocker/serger.
I have this basic Singer S0100 bought on Amazon. I have used it so much more than I thought. It is kind of like my Kitchen Aid Stand Mixer - when I got it a friend said to me "before you have it you wonder if you need it. Once you have it you don't know how you lived without it". I feel this way about my Kitchen Aid and my Serger/Overlocker. I use them both way more than I thought I would.

A serger/overlocker makes a stitch that stretches which makes it great for things like bike shorts. You can use a zig-zag stitch on a normal machine instead of an overlocker/serger.
I definitely didn't NEED to use my heavy-duty sewing machine, but I did. Because I bought a stretch twin needle for my normal sewing machine ... twice... both of them snapped within 30 seconds of using it. I am probably doing something wrong, but it was frustrating and my heavy-duty sewing machine came with a twin needle (not specifically stretch) and I used that instead. And it did not snap. That being said - I recommend you get a twin needle (note the one I linked is the one I snapped ... twice. I think it was my fault, but I didn't want to buy a 3rd one. I used a Singer twin needle on my heavy-duty machine).

Twin needle - I have loved using it. It creates two straight lines on top and a crisscross on the back. It is stretchy and looks neat. I used it to hem the bottom of the shorts.
I have also since used to make another bra!

My bra pattern is available here on my website or on Etsy.
You don't NEED it. But it is nice to have for this project and others (like a bra).
And last thing you need is elastic. I used 1 inch elastic.

Why I made these specific ones
There are so many bike short patterns online. It was hard to know what a good one is. I emailed one company to query something because I couldn't find it on their website - whether the shorts have a gusset or not (I will explain more shortly). Customer service was not very friendly and I found their website very overwhelming ... so many legging and short patterns and I could not easily see what the difference was between them. So needless to say... I didn't buy their pattern.
The ones I went with seemed like a well-established company, good reviews and importantly it included a non-optional gusset (and 3 different lengths).
Why a gusset?
I didn't know it was a called a gusset when I first looked into making shorts. I looked up "patterns that have that diamond shape in the crotch" lol.... Anyway, that is a gusset - it is that diamond-ish shape thing in the crotch that makes leggings and bike shorts fit better and move better with our bodies.
I did not want to make shorts without one. I wear my shorts as pants and therefore they need to be appropriate for everyday use - a gusset helps with that.

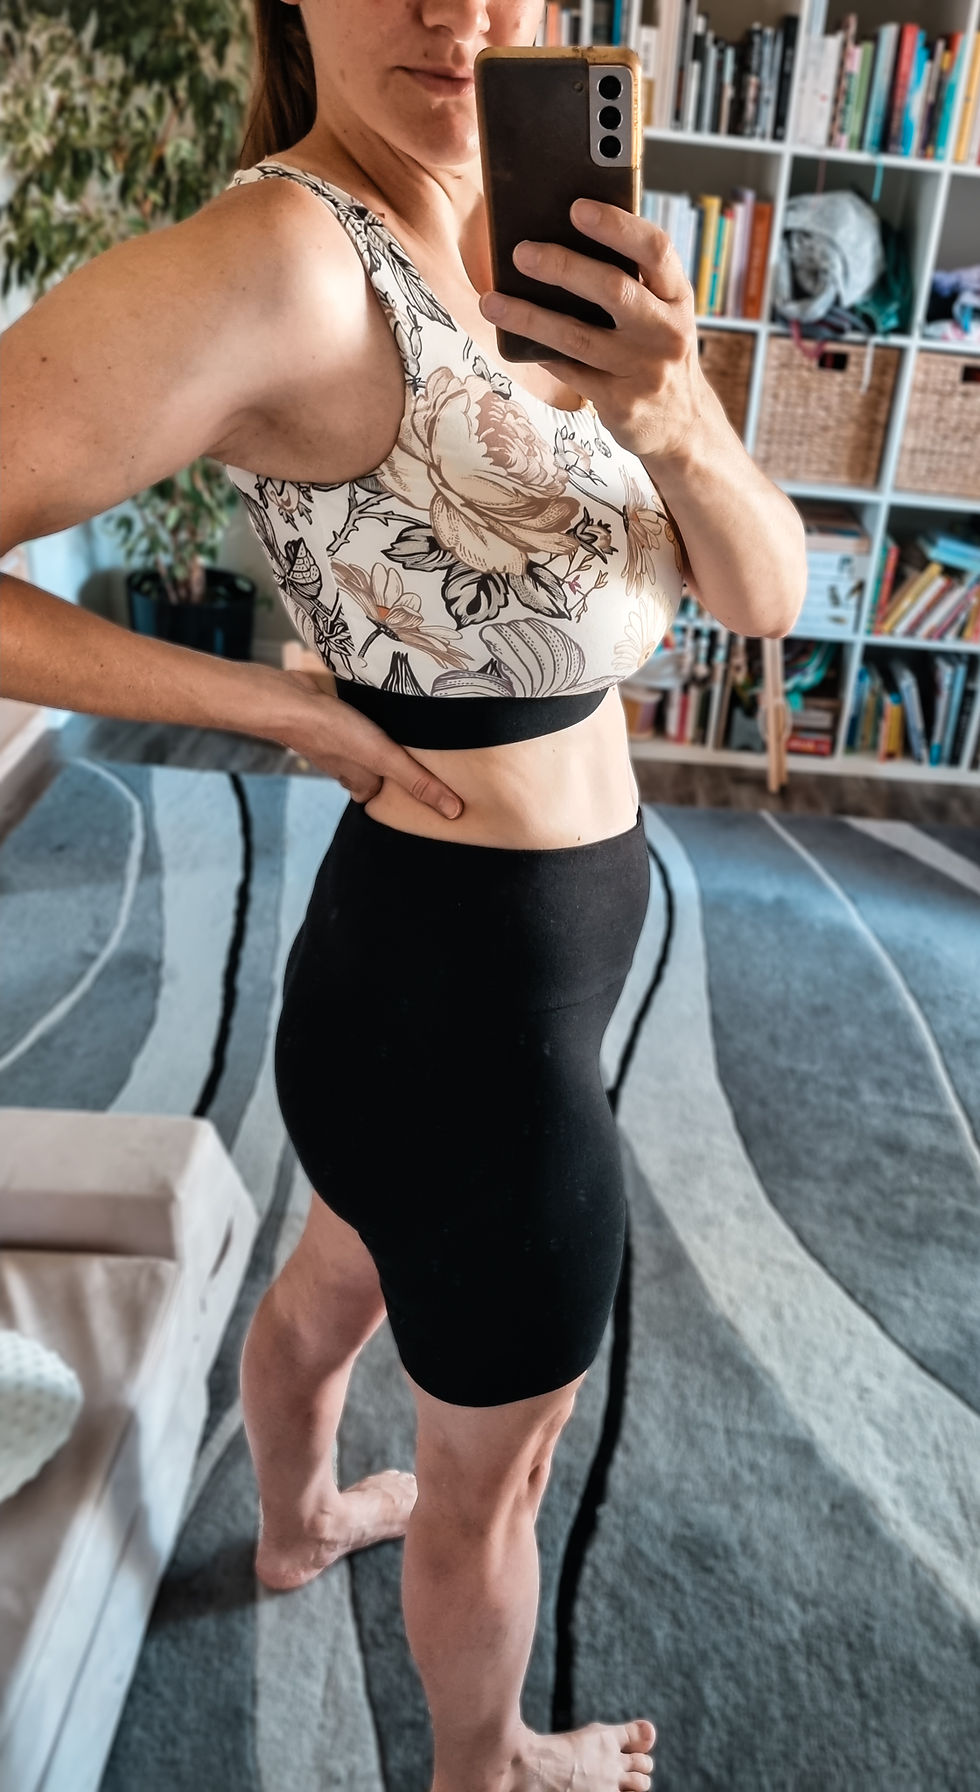
P.s. the bra in the photo above was made with a stretchy baby blanket I was given as the outer layer and organic cotton knit as the inner layer - and using my lounge bra pattern (I have made so many of these bras now).
The pattern
The pattern I used for this project is Jalie CLARA High-Waisted Leggings. The pattern is for shorts, mid length / 3/4s (capri) and long leggings. Personally, the shorts in the pattern are too short for my preference, but that was an easy fix since the pattern is for 3 lengths. So, I simply used a length between the shorts and capri that I liked.
Don't mind my stuff everywhere in the photo below - but this is the first length I went with. I did end up making it shorter than this, but it was nice to have long and then go shorter.

The pattern is well made. Many sizes (like a lot). My issue with it though was the instructions were VERY confusing. For such a detailed pattern I really wish they give more detailed instructions. Initially I felt like I would not figure it out, but then I searched and found...!
Video Instructions
Thank you, Joy, for these instructions! Here is a link to a Youtube video that shows exactly how to make this pattern (she makes the leggings, but it is the same). I would not have figured it out without this video. I am so grateful to people who make tutorial Youtube videos.
Concluding remarks
I have made two of these leggings. I sized up because I am still post partum (5 months) and did not want a tight fit. I did need to make the elastic a little tighter on the 2nd pair to prevent them from moving down. My next pair will probably be my usual size, but I still like to measure the elastic using my waist and not what the pattern says to ensure it is the fit I like.
I use these shorts for running and I love how they hold up. I will now be sourcing and organic cotton fabric to make more of these shorts and to make the leggings for winter.
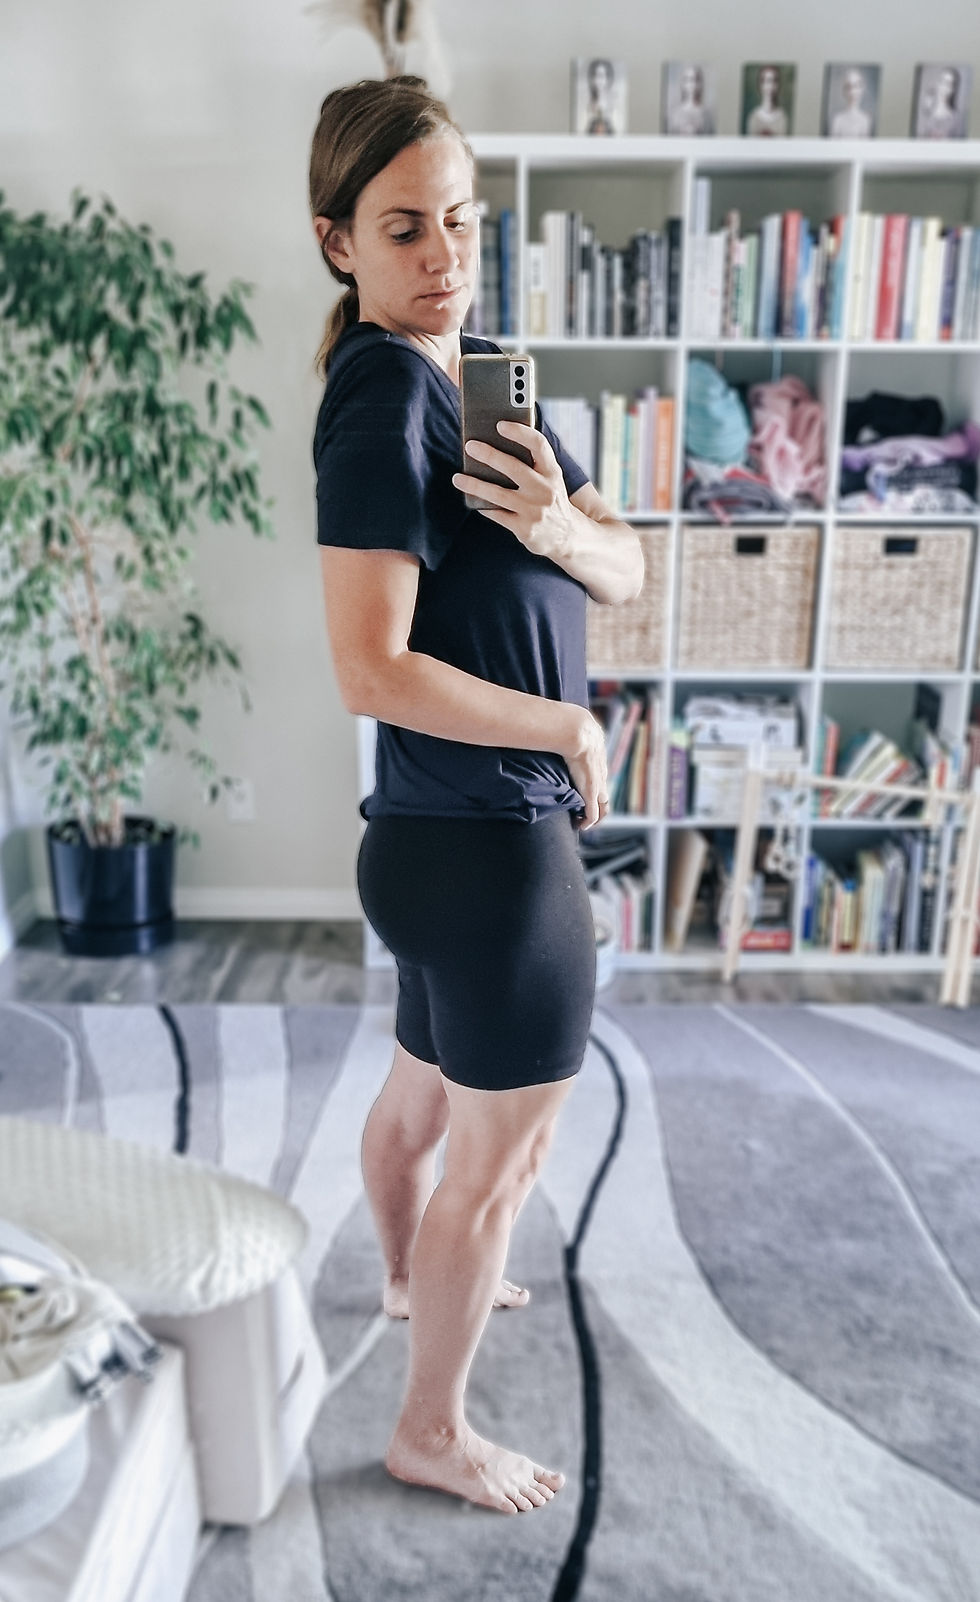
I think there are ways to add a pocket for your phone (not included in the pattern). While I do like this on leggings, I find it is best if I don't have it (I don't like my phone in my pocket and I don't like it weighing down my leggings). I might change my mind and make some with a pocket. We'll see.
I am really loving these shorts! As in I literally get annoyed that I need to wash them. I will be making another pair soon so that I don't need to wear anything else. But I have a few other sewing things to do first - like some linen lounge wear pants (I will share about it).
Please follow along for more DIY things and practical parenting stuff. If you make these please share in the comments below!
Thanks for being here!
Carmen - real time DIY shared on my stories on IG.
Disclaimer: Some links in this post are affiliate links. If you choose to purchase through them, I may receive a small commission—always at no additional cost to you. Your support helps me continue to create.


Comments